Creating an Application from Scratch using .NET Core and Angular — Part 1

In this series of articles, I will share how to create a project following good development practices, using .NET Core in the back-end and Angular in the front-end. This kind of structure that we are going to see in those series of articles you can use either to monolith applications, services applications or microservices applications.
We are going to create an application, that will allow us to execute the CRUD operation for books and categories of books. The main goal of those articles will be about the architecture/structure of the system and good praticles. We are going to use Swagger to document our API and we are also going to commit the code in GitHub.
I’m using .NET Core 3.1.201 to build this application. If you want to code together, you should use the same version of the .NET Core that I’m using. You can check the version of your .NET Core using the command:
dotnet --versionAn Overview of the Application
We will have four layers for this application. Each layer will have its own responsibility. They are:
- Application layer
In this layer, we will have our Controllers and the Dtos (Data Transfer Objects) folder. If you want to implement CQRS, you can also add your commands/commands handlers and queries in this layer.
We are going to use the Dtos to transfer the data between the layers. You should not use your entities Models for it, and these are two reasons why you should not do it: first because you probably don’t need to pass all the information's that are in the entity Model, so with the Dtos you can reduce the amount of data that will be transferred, and second because in your Models you can have sensitive data that you for sure don’t want to return to the final user, so in the Dtos you just add the properties that you need to return in the API.
- Domain model layer
Here we will have our Models (our entities), our Interfaces, and also our Services (where we will put the business rule).
- Infrastructure layer
In this layer, we will have our Repositories (we are going to use the Repository Pattern), and our Migrations.
- SPA layer
We will create a separated application for the front-end project (outside the Visual Studio solution), using Angular (you can use other front-end frameworks if you want).
Creating the Solution in Visual Studio
In those articles, I will be using Visual Studio for the back-end, but you can also use the command line. For the front-end app I will be using Visual Code.
We will start creating the back-end, and when it’s done we will create the front-end project.
So let’s create a new project. Open Visual Studio and select the option ‘Create a new project’:

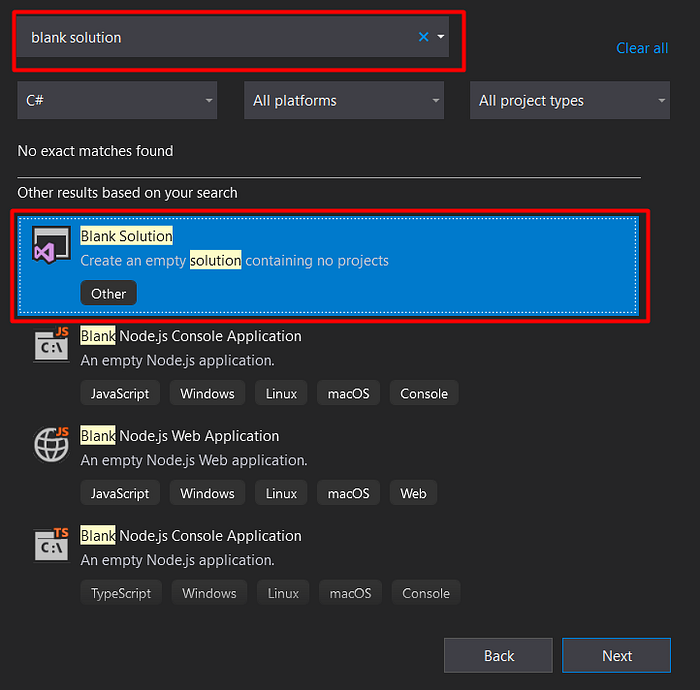
Search for ‘blank solution’, select the option and click in ‘Next’:
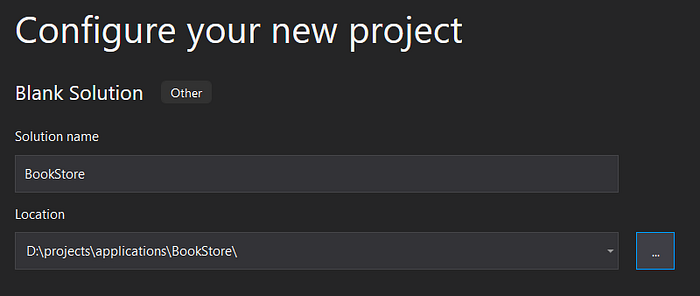
In the next screen, you need to inform the solution name and also the path of our solution. Add those information and click on ‘Create’:
Now you can open in Explorer, the folder of our project, and you will see our solution there:

In this folder we will create two folders, the ‘src’ folder that it’s the folder where you add the projects, and the ‘tests’ folder that is for the tests projects:

Creating the API layer
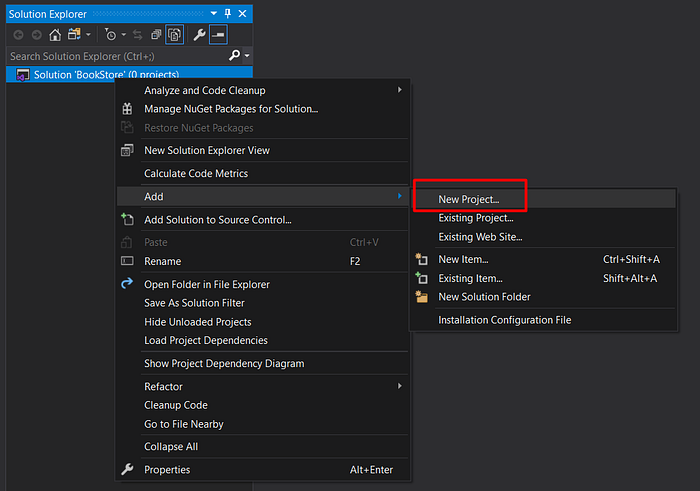
Now we can go back to our solution and create the projects. Let’s started with the API layer.
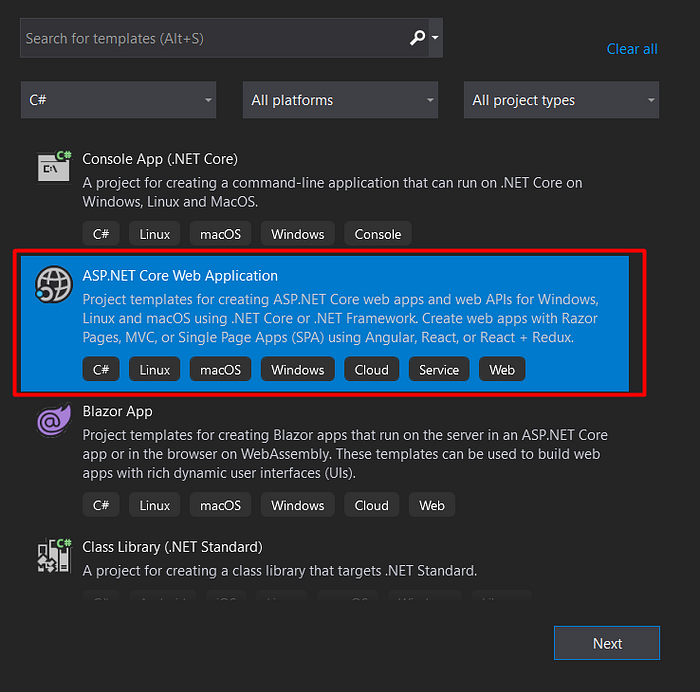
You need to select the ASP.NET Core Web Application:
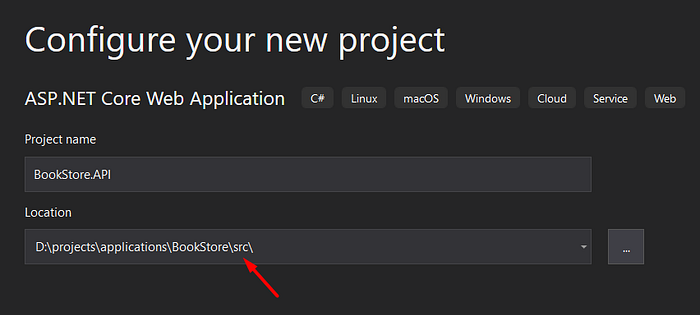
Inform the name and also put the project inside the ‘src’ folder:
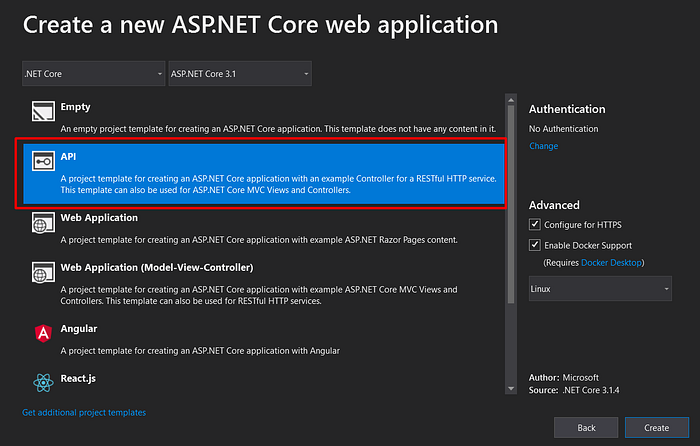
Select the API template:
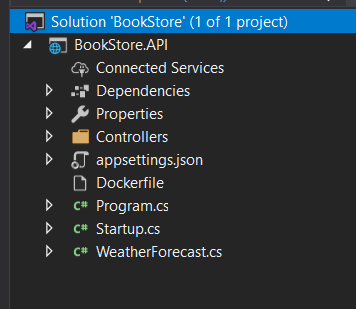
Now we have our API project:
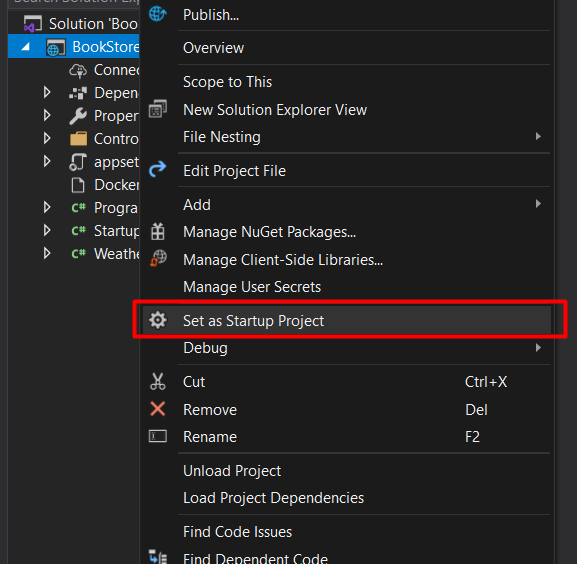
You need to Set as Startup Project and you can execute it:
It will return the default data that is automatically created when you create your API. You will see this result in the browser:

You can stop your application now and we will create the others layers.
Creating the Domain layer
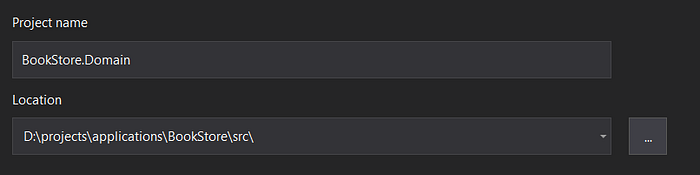
Now we are going to create the Domain layer. You need to create a new class library for this project (remember to choose the option for .NET Core):

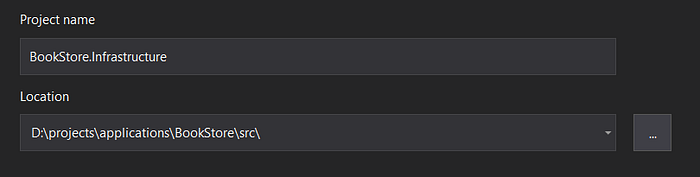
Inform the name and select the correct path for the project:
Now we have two projects in the solution:
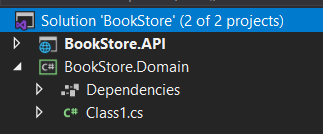
You can delete the Class1.cs because we don’t need it (you can also delete this file in the infrastructure project that we are going to create next).
Creating the Infrastructure layer
Do the same step to create the third layer, the Infrastructure layer:
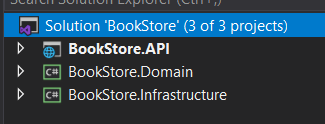
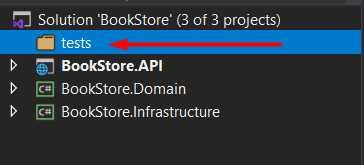
And now we have three layers in the solution:
Creating the ‘tests’ folder in the solution
Also create the ‘tests’ folder for the solution. Right-click in the solution and choose the option ‘New Solution Folder’
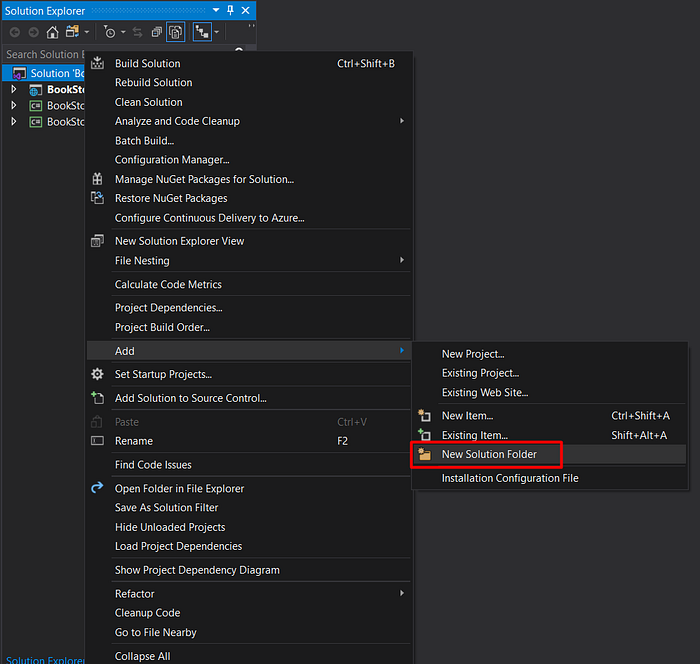
Create the ‘tests’ folder, where we will create our tests projects:
Creating the gitignore file
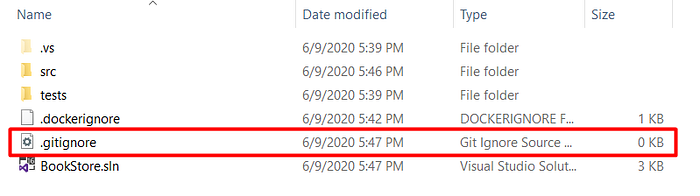
Before we commit, we also need to create the gitignore file. In this file, it’s necessary to add the files that Git should ignore. For that, you need to create a file in your application root folder, with the name ‘.gitignore’:
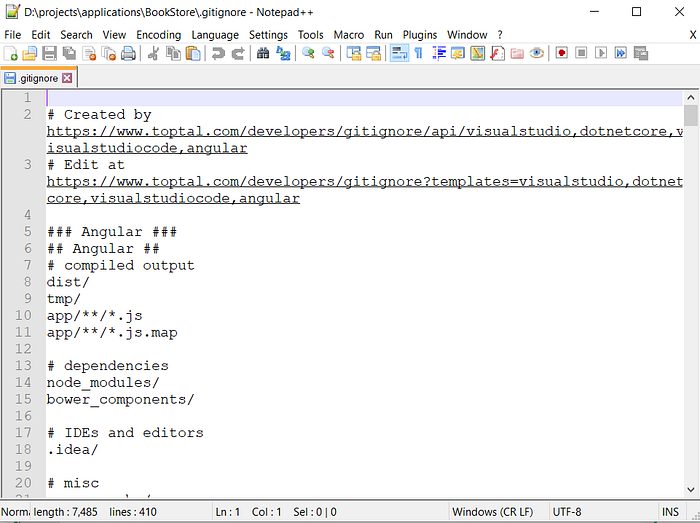
Then you can access the website gitignore.io. This is a gitignore generator that creates a gitignore for us:
https://www.toptal.com/developers/gitignoreAdd the tags and click in ‘Create’:

After click in ‘Create’ it will generate the code for your gitignore file. You need to copy the code and then edit the ‘.gitignore’ file that you created and paste the code inside this file and save it.
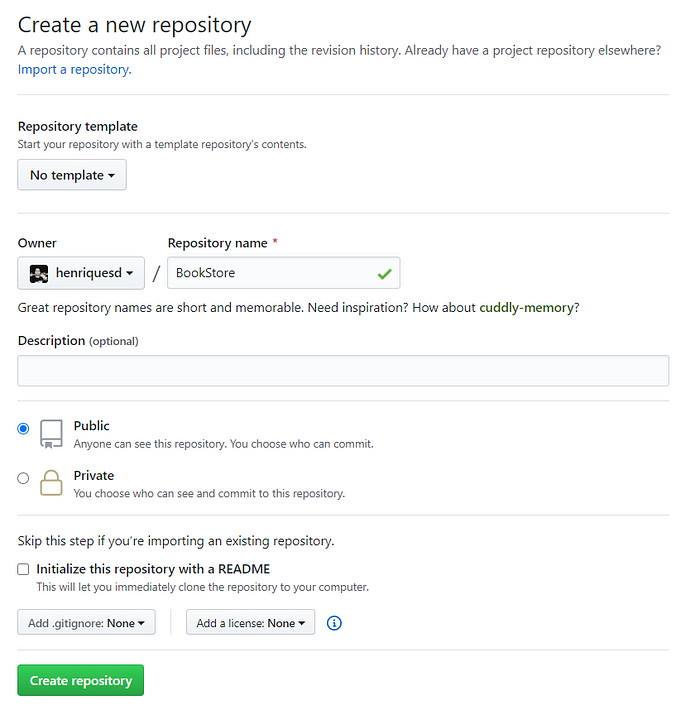
Creating a repository in GitHub
Now you need to create a new Repository in your GitHub:
Install Git
If you do not have git installed already, you need to download and install it in your computer. This is the link to download git:
https://git-scm.com/downloadsCommit in GitHub
To commit you can use a tool like Tortoise GIT (or others), or you can use the command line. We are going to use the command line. I like to use the cmder app, I will share the link for download it if you also want to use it:
https://cmder.net/Now let’s access the root of our project and start git in our folder with the command:
git initNow in your GitHub you can copy the URL for your repository:

You need to add the repository url of your repository, in the git of your application folder. For that use the command:
git remote add origin your_repository_urlNow you need to add your files. To do it execute the command:
git add .Then you can do the commit:
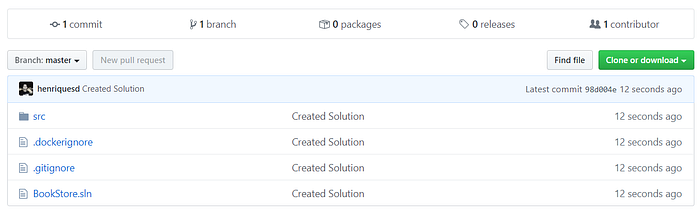
git commit -m "Created Solution"And finally, push to the repository in GitHub:
git push origin masterNow you have our application in GitHub:
That’s it for now. In the next articles, we are going to create the structure and the configuration for each project.
You can read the part 2 of this series by clicking here.
This is the link for the project in GitHub:
https://github.com/henriquesd/BookStoreIf you like this project, I kindly ask you to give a ⭐️ in the repository.
Thanks for reading!
References