.http Files in Visual Studio

The Visual Studio 2022 .http file editor provides an easy way to test Web APIs directly on Visual Studio, without needing to switch to another tool. In this article, I presented how to send HTTP requests using .http files.
The .http file editor provides a UI that allows you to send HTTP requests and visualize the request/response details in Visual Studio. This feature is present in Visual Studio 2022 version 17.6 and later.
For demonstration purposes, I created an ASP.NET Core Web API project using Visual Studio 2022. When a new project is created, you can already see the .http file in the solution:

By default, this is the content that is automatically generated in the .http file. Let’s take a look on how is the structure of this file:
@HttpFilesDemo_HostAddress = http://localhost:5192

GET {{HttpFilesDemo_HostAddress}}/weatherforecast/
Accept: application/json

###- The line that starts with
@defines a variable. For example, the@HttpFilesDemo_HostAddressis a variable that contains the host address URL. - The variables can be referenced in requests, by wrapping their names in double curly braces (see the line where there is the GET request).
- Lines that start with
#or//, are comments, and they are ignored by VS when sending HTTP requests. A file can contain multiple requests by using lines with###as delimiters (you can remove the###if you want to send multiple requests with a single click).
For demonstration purposes, I created a controller with three endpoints, which I’m going to use to demonstrate how to work with the .http file:
[ApiController]
[Route("[controller]")]
public class ProductsController : ControllerBase
{
    [HttpGet]
    public IActionResult Get()
    {
        var products = Enumerable.Range(1, 3)
                .Select(i => new Product { Id = i, Name = $"Product {i}" })
                .ToList();

        return Ok(products);
    }

    [HttpPost]
    public IActionResult Post(Product product)
    {
        return Ok(product);
    }

    [HttpDelete]
    public IActionResult Delete(int productId)
    {
        return Ok($"Product {productId} was deleted.");
    }
}
Creating a .http file
You can have multiple .http files in your solution. to create a new .http file by creating a New file in the solution: right-click > Add > New Item > and add the name your file with the .http extension, or you can use the Endpoints Explorer: View > Other Windows > Endpoints Explorer, to automatically generate it for you based on your endpoints.
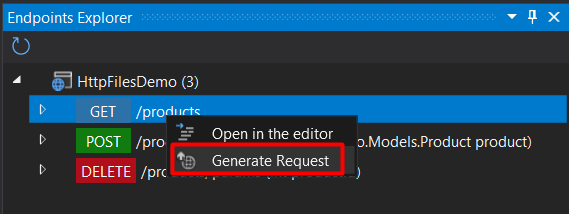
Every time you create a new endpoint, you don’t need to manually update the .http file, instead, you can use the VS feature on the Endpoints Explorer, which will do that for you. For that, you need to open the Explore Endpoint window:

On the Endpoins Explorer, you can see all the endpoints you have in your app, and right-click and click on “Generate request” (if your new endpoint is not visible on this window, click on the refresh button):
VS will create the endpoints for you in the .http file, but you still might need to make a few changes in some requests. For example, this is how it was created:
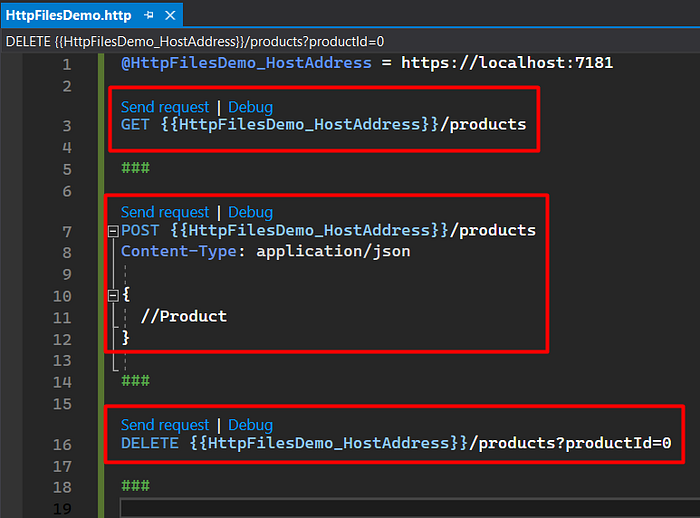
- For the GET request, it will work as it is.
- For the POST requests, it’s necessary to add the request body (I will show an example next).
- For the DELETE request, you can replace the value
0for theproductId.
Request Headers
It’s possible to add one or more headers to the request. For that, you can include the header in the line below the request line (do not include blank lines for that), and the format is: HeaderName: Value. For example:
GET {{HttpFilesDemo_HostAddress}}/products
X-API-Key: demo
Request Body
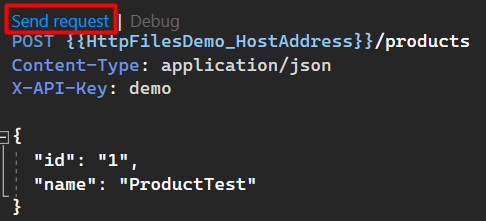
To add a request body, add a blank line after the request (or after the header if you have one). For example:
POST {{HttpFilesDemo_HostAddress}}/products
Content-Type: application/json
X-API-Key: demo

{
  "id": "1",
  "name": "ProductTest"
}
Executing HTTP Requests using the .http file
To make an HTTP request, go to the .http file and above the request, you can click on the “Send Request” option that is above the request. For example:
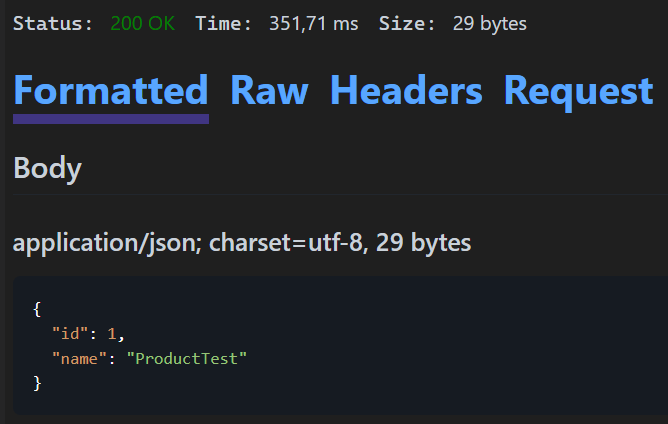
When you click on this option, a request will be sent, and you can see all the request details within VS. For example:
The Status code and the Formatted response:
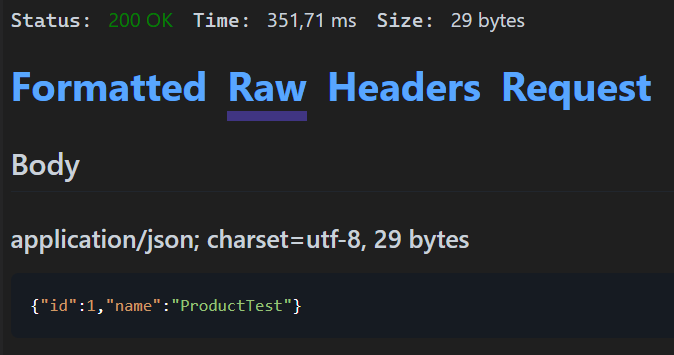
The Raw response:
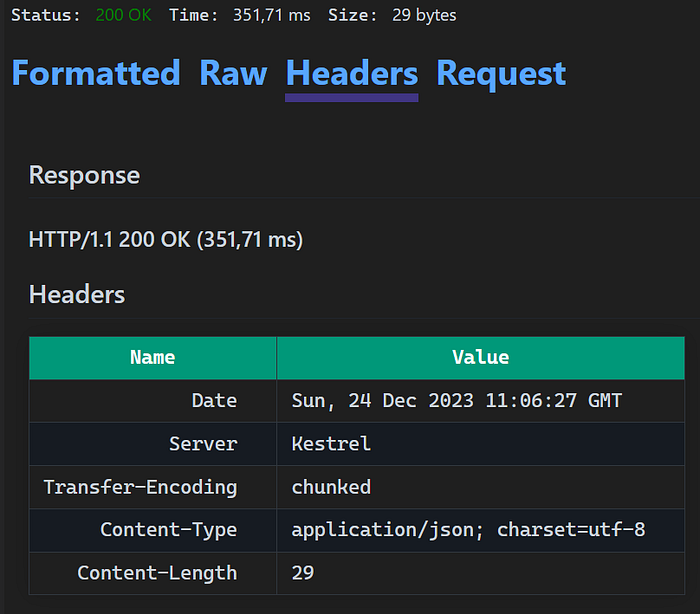
The Headers:
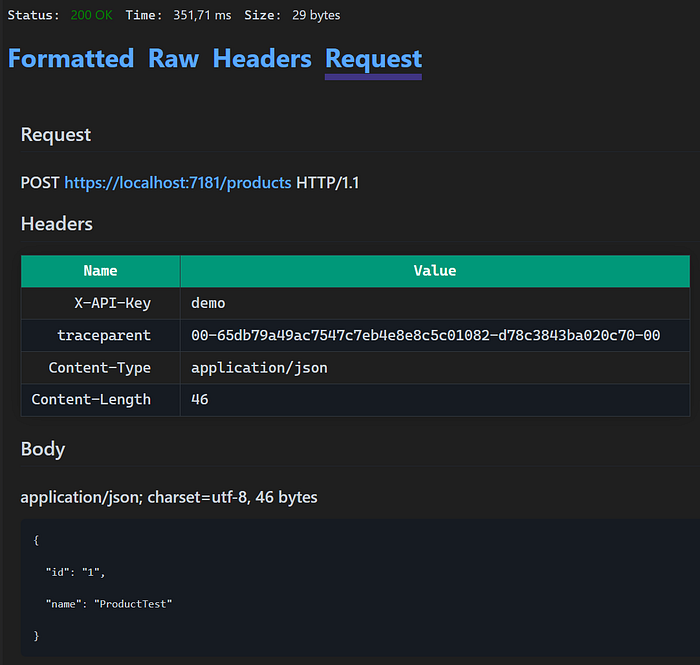
The Request:
Conclusion
The Visual Studio 2022 .http file editor allows you to send HTTP requests to your Web API endpoints without leaving the Visual Studio environment, providing a faster way to test your endpoints, without needing to use Swagger, Postman or another tool.
This is the link for the project in GitHub: https://github.com/henriquesd/HttpFilesDemo
If you like this project, I kindly ask you to give a ⭐️ in the repository.
Thanks for reading!